In today’s rapidly evolving world of web development and system administration, managing multiple web services securely and efficiently can quickly become a nightmare. With the rise in the use of microservices, self-hosted applications, and multi-tenant architectures, having a simplified yet powerful solution to manage your reverse proxy needs has never been more essential. Enter NGINX Proxy Manager – a straightforward, open-source solution that makes reverse proxy management a breeze.
Getting Started with NGINX Proxy Manager
Here’s a step-by-step guide to setting up NGINX Proxy Manager on your server:
- Install Docker and Docker-Compose
If you don’t already have Docker installed, follow the Docker installation guide. Once Docker is installed, get Docker-Compose, which you’ll use to deploy NGINX Proxy Manager as a container.
- Create a Docker-Compose File
Create adocker-compose.ymlfile with the following configuration:
services:
  home-assistant:
    image: ghcr.io/home-assistant/home-assistant:stable
    container_name: home-assistant
    environment:
      - TZ=Europe/Amsterdam
    volumes:
      - /opt/containers/home-assistant:/config
    devices:
    - /dev/ttyACM0:/dev/ttyACM0
    network_mode: host
    restart: unless-stopped
- Start NGINX Proxy Manager
Rundocker-compose up -dto start NGINX Proxy Manager. The service will be available on port81for management, with HTTP traffic on port80and HTTPS on port443. - Access the GUI and Configure Your Proxies
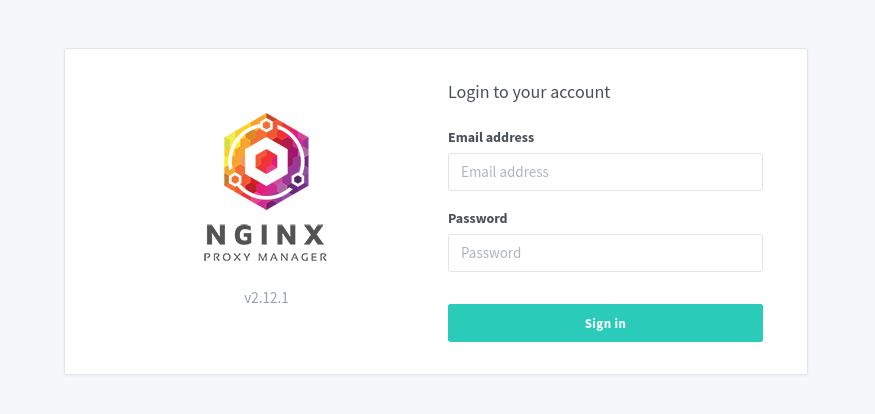
Open your browser and navigate tohttp://<your-server-ip>:81. The default login credentials are:
- Username:
admin@example.com - Password:
changemeBe sure to update your credentials and start adding your proxy hosts!
Configuring a Proxy Host
- Click on “Add Proxy Host” in the dashboard.
- Enter your domain name (e.g.,
nextcloud.example.com). - Configure the forwarding details, including the hostname or IP address of your backend service.
- Enable SSL and request a new SSL certificate from Let’s Encrypt if needed.
- Save your configuration, and your reverse proxy will be live!
Tips and Best Practices
- Use Strong Passwords: Since NGINX Proxy Manager provides a way to secure multiple services, make sure your admin panel and backend services are well protected.
- Monitor Logs Regularly: Check logs periodically to identify and mitigate any issues quickly.
- Stay Updated: Keep your Docker images updated to benefit from the latest features and security patches.
Conclusion
NGINX Proxy Manager takes the complexity out of configuring NGINX as a reverse proxy, making it accessible for everyone from hobbyists to IT professionals. With features like automated SSL management, a simple GUI, and powerful security options, it’s a fantastic choice for managing multiple web services. Give it a try and see how it can simplify your infrastructure!
Happy proxying!


