How to Secure Your Web Server with CrowdSec and NGINX Bouncer
In this blog post, we’ll walk you through installing CrowdSec and configuring an NGINX bouncer to secure your web server or reverse proxy. Whether you’re running a reverse proxy or a regular web server, this guide will help you bolster your defenses against malicious activity.
Prerequisites
For this guide, we’ll be using Debian 12 as our operating system. If you want to set up a reverse proxy first, check out our guide:
Step 1: Install CrowdSec
The first step in securing your web server is installing the CrowdSec application. Here’s how you can do it:
Add the CrowdSec repository: Run the following command to add the CrowdSec repository to your system:
curl -s https://packagecloud.io/install/repositories/crowdsec/crowdsec/script.deb.sh | sudo bashInstall CrowdSec: After adding the repository, install CrowdSec using:
sudo apt update sudo apt install crowdsec -yCreate a CrowdSec account: Go to CrowdSec and sign up for a free account. Once logged in, navigate to the dashboard and find the “Enroll your CrowdSec Security Engine” option.
Enroll your CrowdSec engine: Copy the enrollment command provided in the dashboard and run it on your server:
sudo cscli console enroll -e context ***********************Restart the CrowdSec service: After enrolling, restart the service to complete the setup:
systemctl restart crowdsec.serviceAccept enrollment: Once the service is restarted, your enrollment will appear in the dashboard. Click “Accept enroll” to finalize the process.

Step 2: Install and Configure the NGINX Bouncer
Next, we’ll install the CrowdSec NGINX bouncer to integrate CrowdSec with your web server.
Install dependencies and the bouncer: Run the following commands to install the necessary packages and the NGINX bouncer:
sudo apt install nginx lua5.1 libnginx-mod-http-lua luarocks gettext-base lua-cjson sudo apt updatesudo apt install crowdsec-nginx-bouncer
Edit the NGINX configuration: Open the NGINX configuration file for the CrowdSec bouncer:
nano /etc/nginx/conf.d/crowdsec_nginx.confAdd the following configuration: Copy and paste this configuration into the file:
lua_package_path '/usr/lib/crowdsec/lua/?.lua;;';
lua_shared_dict crowdsec_cache 50m;
lua_ssl_trusted_certificate /etc/ssl/certs/ca-certificates.crt;
init_by_lua_block {
        cs = require "crowdsec"
        local ok, err = cs.init("/etc/crowdsec/bouncers/crowdsec-nginx-bouncer.conf", "crowdsec-nginx-bouncer/v1.0.8")
        if ok == nil then
                ngx.log(ngx.ERR, "[Crowdsec] " .. err)
                error()
        end
        ngx.log(ngx.ALERT, "[Crowdsec] Initialisation done")
}

map $server_addr $unix {
        default       0;
        "~unix:" 1;
}

access_by_lua_block {
        local cs = require "crowdsec"
        if ngx.var.unix == "1" then
                ngx.log(ngx.DEBUG, "[Crowdsec] Unix socket request ignoring...")
        else
                cs.Allow(ngx.var.remote_addr)
        end
}
Save and exit: Save the changes to the file and exit the editor.
Step 3: Finalize and Test
Your CrowdSec installation and NGINX bouncer configuration are now complete! Restart NGINX to apply the changes:
sudo systemctl restart nginx
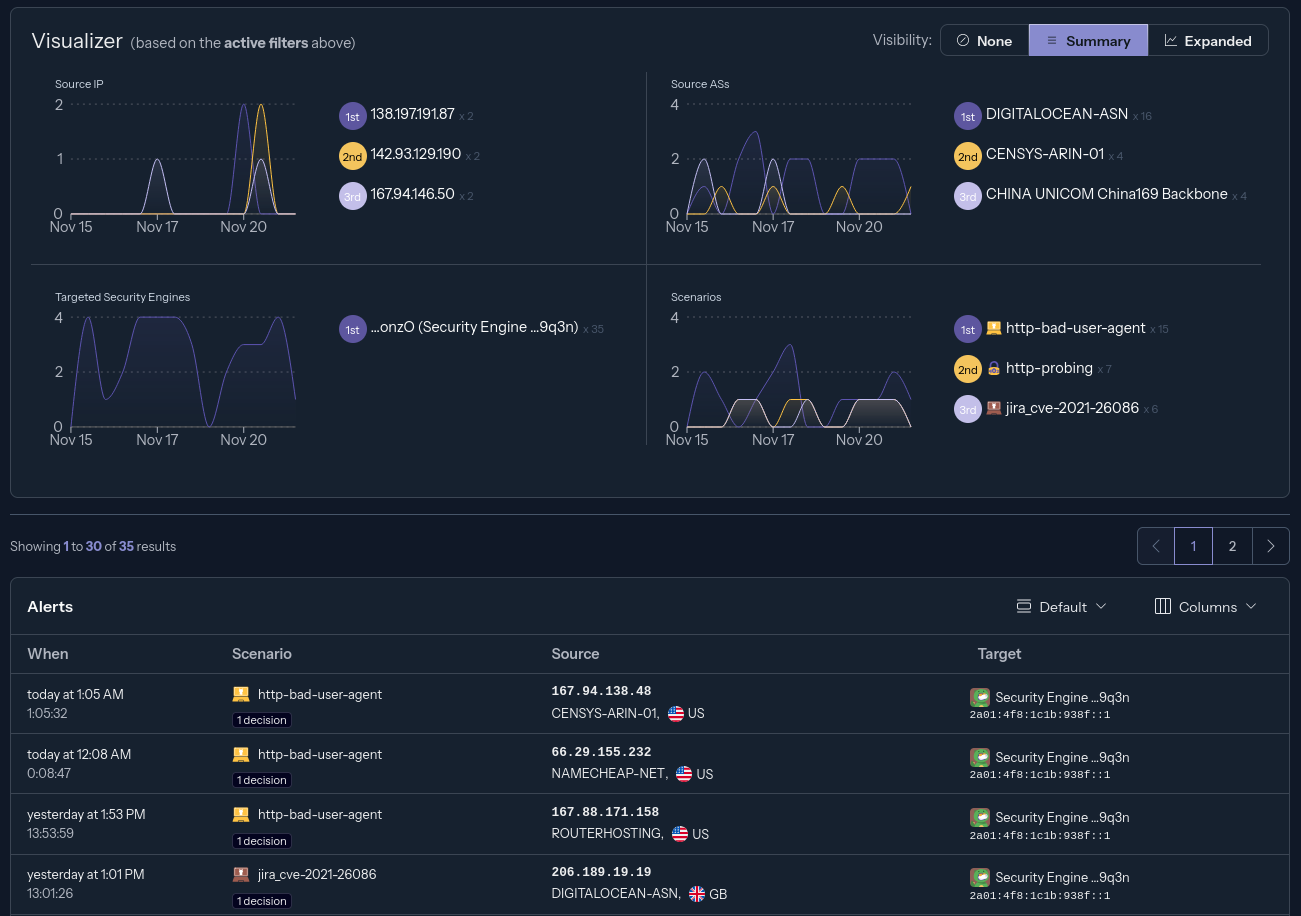
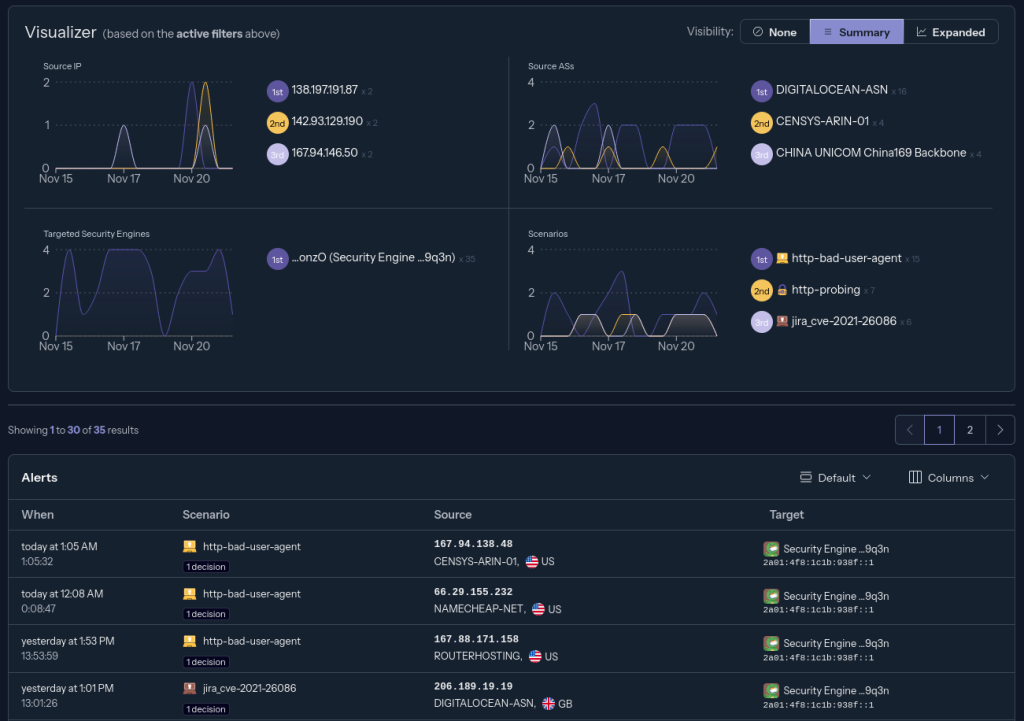
You’ve successfully added an additional layer of security to your web server or reverse proxy. Over time, you’ll see alerts and logs in your CrowdSec dashboard as the system identifies and mitigates threats.
Conclusion
By following this guide, you’ve secured your web server with CrowdSec and the NGINX bouncer. This setup offers robust protection against malicious actors, ensuring your web server stays safe in today’s ever-evolving threat landscape.
Stay vigilant, and don’t forget to monitor the alerts in your CrowdSec dashboard regularly.
